Inspection Process and Key Points for Metal Fittings Kit
1. Pre-Inspection Preparation
Review Documentation: Check product specifications, drawings, QC standards, and purchase order requirements.
Sampling Plan: Follow AQL (Acceptable Quality Level) standards (e.g., ANSI/ASQ Z1.4) for sampling size.
Tools Preparation: Calipers, micrometers, hardness testers, surface finish gauges, and packaging inspection tools.

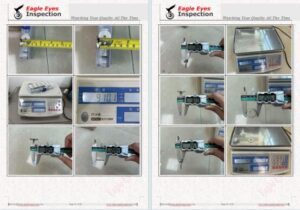
2.Dimensional Inspection

Critical Dimensions: Verify key dimensions (e.g., thread pitch, hole diameter, thickness) against technical drawings.
Tolerances: Ensure compliance with ±0.1mm or specified tolerances.
Interchangeability: Test assembly compatibility with mating parts if applicable.
3. Material & Finish Verification

Material Grade: Confirm metal type (e.g., stainless steel 304, carbon steel) via material certificates or spectrometer testing.
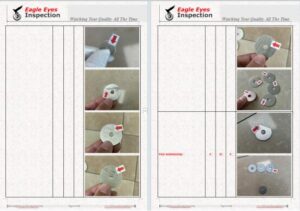
Surface Treatment: Check plating (zinc, nickel), powder coating, or anodizing for adhesion, thickness, and uniformity.
Rust/Defects: Inspect for scratches, oxidation, burrs, or uneven coatings.
4. Functionality & Durability Tests
Load Testing: Apply force to load-bearing parts to ensure they meet strength requirements.
Thread Engagement: Test screw/bolt threads for smooth engagement without cross-threading.
Corrosion Resistance: Conduct salt spray test (if required) per ASTM B117.
5.Packaging & Labeling

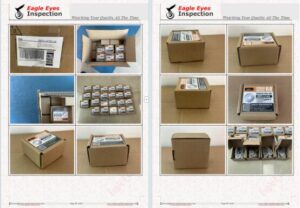
Inner Packaging: Verify anti-rust paper, bubble wrap, or dividers to prevent scratches.
Outer Carton: Check carton strength, moisture-proofing, and shipping marks.
Label Accuracy: Ensure part numbers, quantities, and barcodes match the order.
6. Documentation & Reporting
Non-Conformance: Record defects (critical/major/minor) with photos and measurements.
Inspection Report: Issue a detailed report including pass/fail status and corrective actions.
Key Notes:
Supplier QC Coordination: Align inspection criteria with the supplier beforehand.
Safety: Wear gloves/PPE when handling sharp edges.
Defect Threshold: Define acceptable defect rates (e.g., 0% critical, ≤2.5% major defects).
Example Defect Classification:
Critical: Cracks, incorrect material.
Major: Dents, poor plating.
Minor: Minor scratches, packaging misalignment.


